Creative Commons License
This work is licensed under a Creative Commons Attribution 3.0 United States License.
Showing posts with label Do It YourSelf. Show all posts

Sunday, January 27, 2013

Puzzle Piece Creature Magnets - Fun Craft for the Kids

STOP! Don't throw out all those old puzzles that are missing a few pieces, or the ones that your kids have grown out of due to the big size of the pieces. Why throw them out when you can make really cool creature magnets out of them! It don't matter what age your child is, this activity can be ALOT of fun! With the little ones, you may need to help with the glue and painting but the older kids can do it all on their own with just 3 small steps of instructions.


Step 1 ~ Paint a puzzle piece with any color of paint. (acrylic works best, watercolors don't like to stick to the glossy surface of the puzzle)


Step 2 ~ Once the paint dries, Decorate it with googlie eyes, pipe-cleaners, feather, pom-pom balls, etc.


Step 3 ~ Glue a Magnet to the back of the Puzzle piece

Your finished! Just let it dry and hang up your art work on your fridge!

*Fun Tip*
If you don't have any extra puzzle pieces, trace some onto a piece of thin cardboard and cut out the shape.
(I couldn't find my extra puzzles so we made our own!)


DIY Carry-Along Toy Road in a Pocket


This is a simple toy that can be taken along on vacation/trips, to friends house's, appointments, etc. It's also very easy to make. Little Boys will love it and Girls will like it also!!


1. Cut out road patterns to use on the fabric. (I made the roads about 2 1/2 inches wide but you can go smaller or larger. It's the perfect size for 2 cars side by side.)


2. Cut off 1 leg of a pair of jeans. (I got 6 road pieces out of one leg)


3. Lay out the patterns on the fabric, try and cut the pieces as close together as you can so you can get more out of the space.


4. Trace the patterns onto the fabric, I use a regular pencil but you can use a fabric pencil if you have one.


5. Lay out our pieces to see if you have a cool road (This step is not necessary, but you know you want to!) (I did this to see if I needed any extra road pieces)


6. Paint on the Lines down the middle of the roads (I used Yellow Acrylic Paint)


7. While the paint is drying, Cut a pocket out of the same jeans. (This is going to be for storing the road when it's not being played with, It's also what makes it so great for travel!)


8. If you like, You can paint the yellow lines on the pocket to match it to the roads.


9. IT'S DONE!!!!!


10. After the paint dries, you can fold up the road pieces and fit them inside the pocket!
Just add a few cars then you and your kiddos are ready for a day with no boredom!The road pieces can be put in all different road formations! Your kids will have fun making different roads, you can also make buildings with left over jeans if you like (I didn't this time, but I may in the near future.)


I got this idea from a picture on Pinterest this past summer and had to make one for my friends little boy! (My daughters had so much fun playing with this road before I gave it to Kaden!)
I hope you enjoyed the walk through steps. Enjoy!!!!


Post by Autumn with Thru My Eyes Creations and Thru My Eyes Photography


223808_Melissa & Doug-Leading Designer of Education Toys! MelissaAndDoug.com! Click Here!

Friday, January 11, 2013

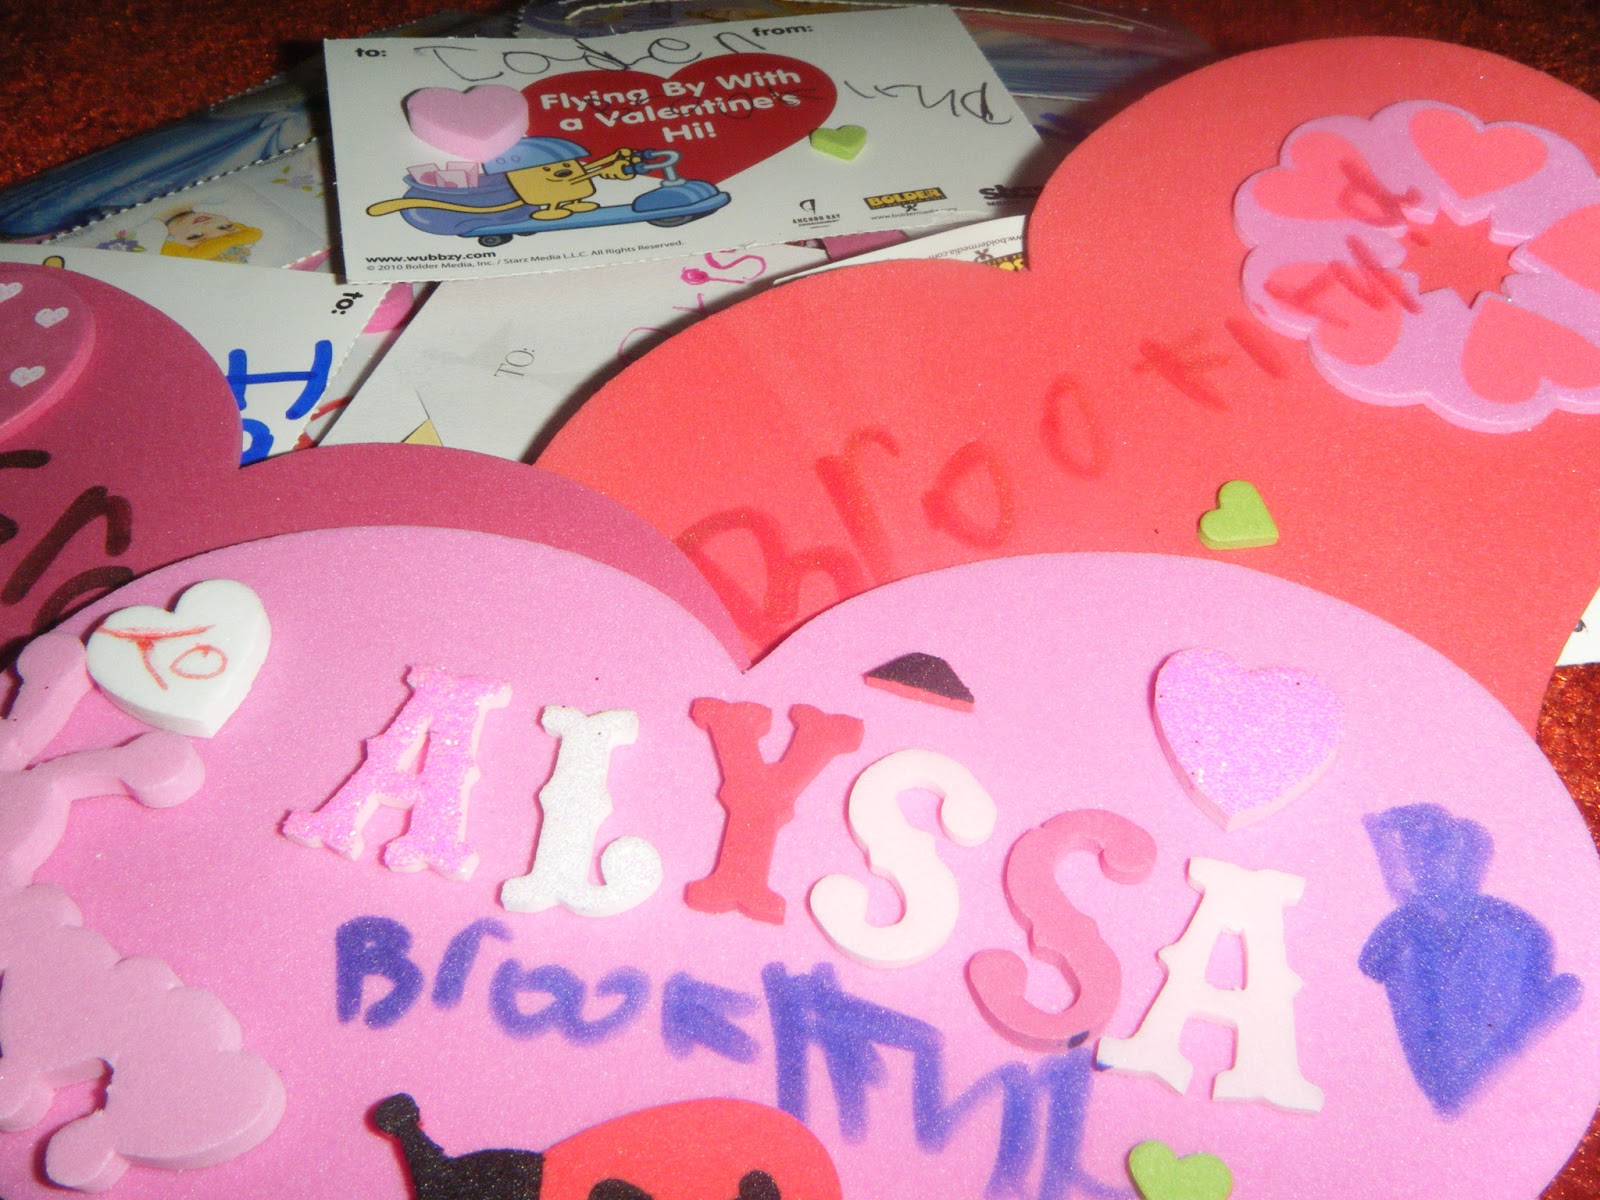
Getting ready for Valentine's Day!

 Do you have Love on the brain?

Valentine's Day is just over a month away... 34 days to be exact. Some stores are already putting out the pretty little Valentines cards with cartoon designs and brightly printed hearts! I realize that some of the store bought Valentines can be cheap and cute but when it really comes down to it, kids always seem to want the box of Valentines that cost the most and depending on how many kids are in your child's classroom... you may have to buy more than one box. As a mom, I know that we could have lots more fun making our own Valentines at home!! Even Teacher Valentines can be made at home and come from the heart instead of from a box. Fun and Creative plus it's cheap!! IT'S A HOME RUN! 

Where do you put all those valentine's after you get done making them? In the Valentine Mailbox, of course! Alot of elementary teachers make mailboxes with their students around Valentine's Day so the kids can collect their Valentines but why not have a Mailbox at home to collect your Valentines aswell? You can truly use anything to make a cute Valentine's Mailbox with your kiddo's. Including milk jugs, boxes, buckets and more! I've found so many really neat ideas through out the web and I have a few that I came up with myself that will turn any normal Valentines day into a day of Fun, Love and with the right person... maybe a little Romance.


Throughout the next month I will be sharing all the valentine fun that I've found and came up with. I'm a mom on a budget so nothing will Over The Top on cost, but I promise it will be Over The Top in many more ways! From crafty Valentine Cards to yummy Valentine Treats! I'll be sharing ideas from lots of other wonderful blogs so you won't just be getting new ideas, you will also get the chance to check out the designs on other crafty moms around the world including some from Danielle's Place, Mom On Timeout! Make sure you check back and see what new valentines ideas I  have to share!


Need crafty idea's to do with your kids? This wonderful eBook: Fun Kids Crafts, is full of over 600 fun kids crafts for any occasion including lots of Unique Hpliday Crafts with Illustrations, Printable Templates & Step-by-step Instructions. Crafting with kids can bring a family closer and give you hours of fun and wonderful memories. Click here to step into the world of crafting with your kiddo's!!
I hope to talk to you all in future posts very soon! If you enjoyed this post please share with your friends through. I just made a Facebook Page for my blog, I'm calling it 'The Realm of Freebies, Deals & Fun'. It's very new but I am making sure that it's full of interesting and helpful posts! Click Here to make sure you never miss a Good Deal or a Good Tip!

Friday, September 14, 2012

Have Yourself a Homemade Halloween!

Pumpkins are already starting to pop up in grocery stores and creepy Halloween skulls are right around the corner! Halloween is one of my favorite holidays but having a party for the kids can get so pricy! So this year I have decided to have a Homemade Halloween! It's a somewhat new challenge for me. I normally always make atleast one thing for Halloween but this year I'm planning on making almost EVERYTHING! Food, decorations, Games, etc!

While searching online for DIY Halloween ideas, I found this wonderful blog post called 10 Cheap DIY Halloween Decorating Ideas, it has some really cool ideas from indoor and outdoor Halloween stuff! My favorite idea from that post is the Backyard Grave yard! It's very simple and creepy!! :0)
Just get some big pieces of cardboard (or for a waterproof version you can use scrap wood for instead of Cardboard)
Cut in the shape of tombstones
Paint to look like aged concrete
Place in your yard with pumpkins, skulls, hay and whatever you would like to make your graveyard spooky!


I found 2 different sites with Specimen Jars and they are pretty much the same thing but a tab different. Find small plastic/rubber bugs, rats, doll heads etc. and place in a cleaned mason jar (You can also use old sauce jars or even baby-food jars)
Add water and a few drops of food coloring to make it look like lap specimens.
These little jars just might make it to my party!! Aren't they Spooky Creepy?! My daughters are going to love all this Halloween stuff! Sometimes scary stuff freaks them out because they are still young but I'm thinking that if I let them help me make the scary stuff then they won't be so afraid of it. It will be great family fun time and there is no telling what kind of stuff will pop out of my daughter's mouths while making scary Halloween Party props! (My girls can be really silly sometimes!) 
I also found 2 cute props that are pretty much just for show but I fell inlove! One is a Book Pumpkin! That looks kinda simple and kinda hard...


And some really cool Potion Ingredient Bottles at squidoo! My fiance's mom gave me an old spice rack a few months ago with lots of spice jars in it so this project will be perfect for them!


Now that I found a few decoration ideas, it's off to food prep!
 I'm not really wanting to serve up a full dinner and meal for the party-goers so a few spooky snacks should do the trick. Maybe even a creepy juice!
 While soaring through some blogs I found the perfect blog post that is full of Halloween Style finger-foods and party treats! It even has the sites that the ideas came from!! The blog is called Cute Food For Kids?, the post is named "41 Cutest Halloween Food Ideas". The Spider Lollipop from Party Frosting blog is adorable and would be great for classrooms and I may make a few to pass out to the kiddo's at the party. Just pipe-cleaners, googlie eyes and a Blow Pop!


 I even like the idea of the spider lanterns, also from Party Frosting even though they ain't food :0)
I found some Marshmallow Zombies that are awesome!!! 

How cute and creepy are they?!?! I'm pretty sure that they are just jumbo white marshmallows with the smaller colored marshmallows and use some editable markers to draw the faces! SIMPLE AS PIE! (even though pie is NOT always so simple!) 

I found this next idea on Pintrest (Such a wonderful site!) It's a Creepy Cool floating hand Ice Cube!! Make some Red Kool-Aid or other red punch (red for blood) Turn a rubber glove inside-out (so you don't get the powder from the inside of gloves in your ice cube) Fill up with water and Freeze! Don't put it into your punch until your ready to serve because the fingers will melt faster than the palm due to them being smaller so you will slowly have a fingerless hand floating around in your punch!! :0)

Look how cute!!!!!!

Mummy Juice Boxes from Parents
From the looks of the picture, you can use the Waterproof Adhesive Tape and wrap up the whole juice box. Add the googlie eyes about half way through and over-lap a piece like a mummy :0) I LOVE IT!! (Once I read the directions it says that they used white electrical tape. I like the Adhesive Tape idea better, it's water-proof and will stay on longer.... atleast I think it would, but what would I know? I haven't tried it...yet!)

I think my daughters would enjoy making a Halloween paper Village for a center piece! I can always find scrap paper and small boxes! All I need to buy is paint.

I found this idea at claudinehellmuth.blogspot.com also!

And the Nutter Butter ghost from The Hob- bee Hive are adorable! Just add some iceing and a stick to some Nutter Butter cookies and your good to go!! WOW! All this Halloween searching is making me ober excited! I'll update with all the new things I find and the crazy ideas that fall out of my head!


If you have any ideas on how to make my Homemade Halloween please feel free to let me know in the comments! I'm hopping that this Halloween is the best one yet!
Here are a few of the sites that I found the above ideas at:


Written on September 14, 2012 by a crazy stay at home mom of 2 beautiful little girls. With 2 step sons that come over every-now-and-then, and a pretty decent fiance! Very crafty and don't like to leave the house without a camera!

Thursday, August 30, 2012

Daddy's-To-Be need Presents too!!

Don't Leave out the Daddy!

When someone announces that they are having a baby, one of the first things people do is run out and buy the Mother-to-be or baby a gift. Not many people think about getting something for the Daddy-to-be. Some of the guys might get together and take the expectant dad out to get some drinks but that's bout it. How about buying the daddy a present also!! Baby showers are the perfect place to give the Daddy-to-be his present since the Mommy is already getting all of hers! Here are a few ideas that I have found.

"I'm The Daddy" Boxers from Daddyscrubs.com for $21.95
 A Pinstripe Dad-To-Be Set from Uncommongoods.com for $125.00


Or you can make this cute Bucket by yourself!

because its his baby too.

  This is a wonderful idea! I can't wait to try it out, I'm defiantly waiting to hear that someone is pregnant now! I agree that the Daddy's-To-Be are always left out of the whole excitement of the new baby! I bet my fiance would of loved to of gotten one of these little Daddy Kits! I may even make him one for the kids now...If I ever decided to have a Mommy's Night-Out! (I'll let you know what I come up with for that one!) The Daddy Doody Kit is cute but I'm not to sure about adding the gloves, goggles, face-mask, or the tongs. Daddy's may not be perfect "moms" but most of them do know how to take care of their baby. I like the joke of the clothes pin though! I remember that some of those diapers do get super stinky! Let me know if you try this out! I would LOVE to see pictures! 

Found at www.livingeventfully.com

my keen eye for detail has picked up on a trend.
the daddy to be always gets left out.
unless its a co-ed shower...but in 9 out of 10 cases, its not.
mommy to be gets showered with a lovely party, sentiments, gifts and delicious food.
daddy to be gets to pick her up at the end of her shower acting as a pack mule...
loading the car(s) up with the never ending pile of goods from babies r us.
then unloading it all at the house, usually by himself.
good times.
i wanted to create something fun so the awaiting father could be included!
i usually have the dad to be arrive at the tail end of the shower while gifts are still being opened.
then i hand them this.
"a daddy doody kit"
i purchased the clear paint pail at a craft store.
they are about $5.00.
for the "open in case of emergency" tag
i used an all cap font in red printed off my home printer.
I used a large round hole punch to cut it out.
its taped to the top with double sided foam dots.
for the "daddy doody kit" tag i just free hand tore
the paper around the words.
on the side of the pail with the seam,
i added a "contains:" list.
here is what was included in this one:
diapers
diaper rash cream
gloves
goggles (home depot, about $2.50)
face mask (home depot, about $2.00 for 1)
clothes pin for your nose
tongs for diaper disposal
hand sanitizer (travel size)
baby wash (travel size)
wash cloth
baby food
spoon
pacifier
bottle
baby sockies
wipes
(travel size)

Tylenol...for daddy
get creative and personalize it for the guy you are giving it to.
pop the lid back on and its good to go!


*Blog Written By ~ Autumn Banks*
..::I'm a stay at home mom who loves DIY projects, finding freebies and playing with my gurlie gurls. I have a secret obsession with anything history that not many people know about. I try to stay out of politics along with anything causing trouble but sometimes, randomly, find myself in the middle of some stupid argument::..
 

Tuesday, August 28, 2012

Make Your Own Shrunken Heads this Halloween!


Halloween is right around the corner, creeping up on us slowly but surly. Last month I started searching for DIY Halloween ideas. Holidays can be so pricy if you let it. I do my best NOT to let it! So I have been searching for all kinds of ideas, like -  Spooky decorations, Creepy Recipes and Costume Ideas! While I was searching I came across this really neat Shrunken Head How-To! I haven't tried it yet but I will defiantly be doing this with my kids next month. I believe my step-son, AJ, will LOVE this!! If you try it out, take pictures and let me know how it works!

Shrunken Apple Heads


These shrunken heads are made from peeled, carved, and dried apples. They're as spooky as the scariest Halloween masks and I LOVE them!-- Thry can be lots of fun to make and can be a project for the whole family! You can transform an apple into a frightening lil'  fruit.
Any variety of apple will work, but Granny Smiths are perfect for this project due to their round shape.

You will need
  • Firm, unbruised apple (Preferably Granny Smith)
  • Knife
  • Marker or pencil
  • 1 cup lemon juice
  • 1 tablespoon salt
  • Stick or branch
Shrunken Apple Head Directions:

1. Peel and core the apple.
2. Using a pencil/marker, draw facial features onto the apple. Including: eyes, a nose, and a mouth. Be sure to draw the features large enough so they won't disappear once the apple shrinks.
3. Using the outlines as your guide, carve the apple to resemble a skull.
4. Combine lemon juice and salt in bowl. Soak the apple for 30 seconds and then  dry.
5. Set the apple in a warm, dry spot. After several days, the apple will start to shrink, and the features will distort.
6. Insert a stick or branch into the bottom of the head and place it in a vase!!

SPOOKY!!! I love it!


Spooky Craft Found at www.marthastewart.com


Wednesday, August 22, 2012

The Perfect Travel Toy ~ A Road in a Pocket


It's pretty much a Carry-Along Toy Road in a Pocket!
This is a simple toy that can be taken along on to friends houses, trips, etc. It's also very easy to make, boys are more likely to love it but girls will like it also!!!


1. Cut out road patterns to use on the fabric. (I made the roads about 2 1/2 inches wide but you can go smaller or larger. It's the perfect size for 2 cars side by side.)


2. Cut off 1 leg of a pair of jeans. (I got 6 road peices out of one leg)

3. Lay out the patterns on the fabric, try and cut the pieces as close together as you can so you can get more out of the space.

4. Trace the patterns onto the fabric, I use a regular pencil but you can use a fabric pencil if you have one.


5. Lay out our pieces to see if you have a cool road (This step is not necessary, but you know you want to!) (I did this to see if I needed an extra road pieces)


6. Paint on the Lines down the middle of the roads (I used Yellow Acrylic Paint)

7. While the paint is drying, Cut a pocket out of the same jeans. (This is going to be for storing the road when it's not being played with, It's also what makes it so great for travel!)

8. If you like, You can paint the yellow lines on the pocket to match it to the roads.

9. After the paint dries, you can fold up the road pieces and fit them inside the pocket!
Just add a few cars then you and your kiddos are ready for a day with no boredom!The road pieces can be put in all different road formations! Your kids will have fun making different roads, you can also make buildings with left over jeans if you like (I didn't this time, but I may in the near future.)


I got this idea off of pinterest.com and had to make one for my friends little boy! I hope you enjoyed the walk through steps. Enjoy!!!!

Idea found on Pinterest
Post by Autumn with Thru My Eyes Creations and Thru My Eyes Photography