Creative Commons License
This work is licensed under a Creative Commons Attribution 3.0 United States License.
Showing posts with label home-made. Show all posts

Wednesday, April 3, 2013

The Pea Of Sweetness Flower Hair-Clip Giveaway


Welcome to the Pea Of Sweetness
Flower Hair-Clip Giveaway!

I've been blogging buddies with Emilee from the Pea Of Sweetness blog for many months and I am very happy to be her friend. She has helped me out in the past and when I noticed that she made Hair-Clips and Cloth Diapers along with blogging, I knew I had to work with her!

I had the opportunity to try out 2 of her Flower Hair-Clips and I was super excited. I have 2 young daughters and they LOVE anything that they can put in their hair and I was pretty interested in trying them out for myself aswell.


The hair-clips are made from artificial flowers and vintage bottle caps. They are VERY secure and strong. For these hair-clips being able to survive a whole day on my little girls' heads then they are AWESOME in my book! I got the chance to wear the purple hair-clip out to dinner and shopping one afternoon and was very surprised that I didn't have to readjust the clip at all!! Most hair clips have to be readjusted atleast once due to them sliding down your hair but I truly don't remember fixing my Pea Of Sweetness Flower Hair-Clip while out and about with my family.

Your can read My Kind Of Introduction's Full Flower Hair Clip Review


Now you can own your own Flower Hair-Clips in this wonderful Pea of Sweetness Giveaway!

There will be 1 winner who will win 2 Flower Hair-Clips in the color combination of your choice.


Disclosure: I received no compensation for this publication. My opinions are my own and may be different than yours. My Kind Of Introduction and all other bloggers involved are not responsible for prize fulfillment.

Thursday, January 31, 2013

DIY T-Shirts and Home-Made Fabric Paint

It's time to Create Our Own Fashion!

My mama use to make shirts for me all the time when I was growing up! Sometimes she would let me help and I would make some really cool stuff!! It's time to pass on the memory! I've even found a couple fun and easy recipes for homemade fabric paint so you don't have to spend alot of $money$ to make some great fashion! The recipes are posted at the bottom
What are you waiting on? Lets Get Started!!
Lets turn a plain T-shirt into your own simple work of art.
 (You don't have to use a T-shirt, you can use any type of fabric you like. For example-> hats, pants, jackets, white shoes, shoe strings etc.)
This would also be a great idea for a project done at a Craft or Art themed Party! You can get plain shirts cheap at thrift stores or even The Dollar Store and the paint recipes below are very cheap!
First off ~~>

You will need~~>
  • A plain T-shirt (Or any other type of fabric you choose)
  • Pencil
  • Cardboard
  • Clothespins or large paper clips
  • Fabric paint or Home-made Paint (Recipes at bottom)
May we began.....
  1. Place the cardboard inside the T-shirt and Clip it in place with the clothespins or paper clips
  2. With your pencil, draw a picture on the shirt
  3. Use the fabric paint to add color to your drawing. You can simply paint over the outline or/and color it in.
If you would like, you can make a design instead of a picture.
For example, you can use shapes and lines in different colors to make a fun, modern pattern.


DIY Puffy Fabric Paint
  1. Take regular white Elmer's School Glue and put small amounts into bottles.
  2. Take different colored Kool-Aid packets and mix the powder with the glue.
  3. Make sure the colors are mixed up really good.
  4. Paint your design on fabric and let dry.

Home Made Crayon Fabric Paint
Found at Save At Home Mom

Use up your old crayon scraps!
  • Melt crayon scraps in an empty tuna or soup can over boiling water.
  • Working quickly, Paint pictures or designs on an old T-shirt or pair of pants. **Don't use on nylon fabrics!**
To make designs permanent:
  • Cover with a fabric scrap
  • Press with hot iron
I hope you have fun making T-Shirts and all kinds of wonderful crafts with your new paint and painting ideas!! HAVE FUN!!!


Online Quilting Class

Sunday, January 27, 2013

DIY Carry-Along Toy Road in a Pocket


This is a simple toy that can be taken along on vacation/trips, to friends house's, appointments, etc. It's also very easy to make. Little Boys will love it and Girls will like it also!!


1. Cut out road patterns to use on the fabric. (I made the roads about 2 1/2 inches wide but you can go smaller or larger. It's the perfect size for 2 cars side by side.)


2. Cut off 1 leg of a pair of jeans. (I got 6 road pieces out of one leg)


3. Lay out the patterns on the fabric, try and cut the pieces as close together as you can so you can get more out of the space.


4. Trace the patterns onto the fabric, I use a regular pencil but you can use a fabric pencil if you have one.


5. Lay out our pieces to see if you have a cool road (This step is not necessary, but you know you want to!) (I did this to see if I needed any extra road pieces)


6. Paint on the Lines down the middle of the roads (I used Yellow Acrylic Paint)


7. While the paint is drying, Cut a pocket out of the same jeans. (This is going to be for storing the road when it's not being played with, It's also what makes it so great for travel!)


8. If you like, You can paint the yellow lines on the pocket to match it to the roads.


9. IT'S DONE!!!!!


10. After the paint dries, you can fold up the road pieces and fit them inside the pocket!
Just add a few cars then you and your kiddos are ready for a day with no boredom!The road pieces can be put in all different road formations! Your kids will have fun making different roads, you can also make buildings with left over jeans if you like (I didn't this time, but I may in the near future.)


I got this idea from a picture on Pinterest this past summer and had to make one for my friends little boy! (My daughters had so much fun playing with this road before I gave it to Kaden!)
I hope you enjoyed the walk through steps. Enjoy!!!!


Post by Autumn with Thru My Eyes Creations and Thru My Eyes Photography


223808_Melissa & Doug-Leading Designer of Education Toys! MelissaAndDoug.com! Click Here!

Friday, January 11, 2013

Getting ready for Valentine's Day!

 Do you have Love on the brain?

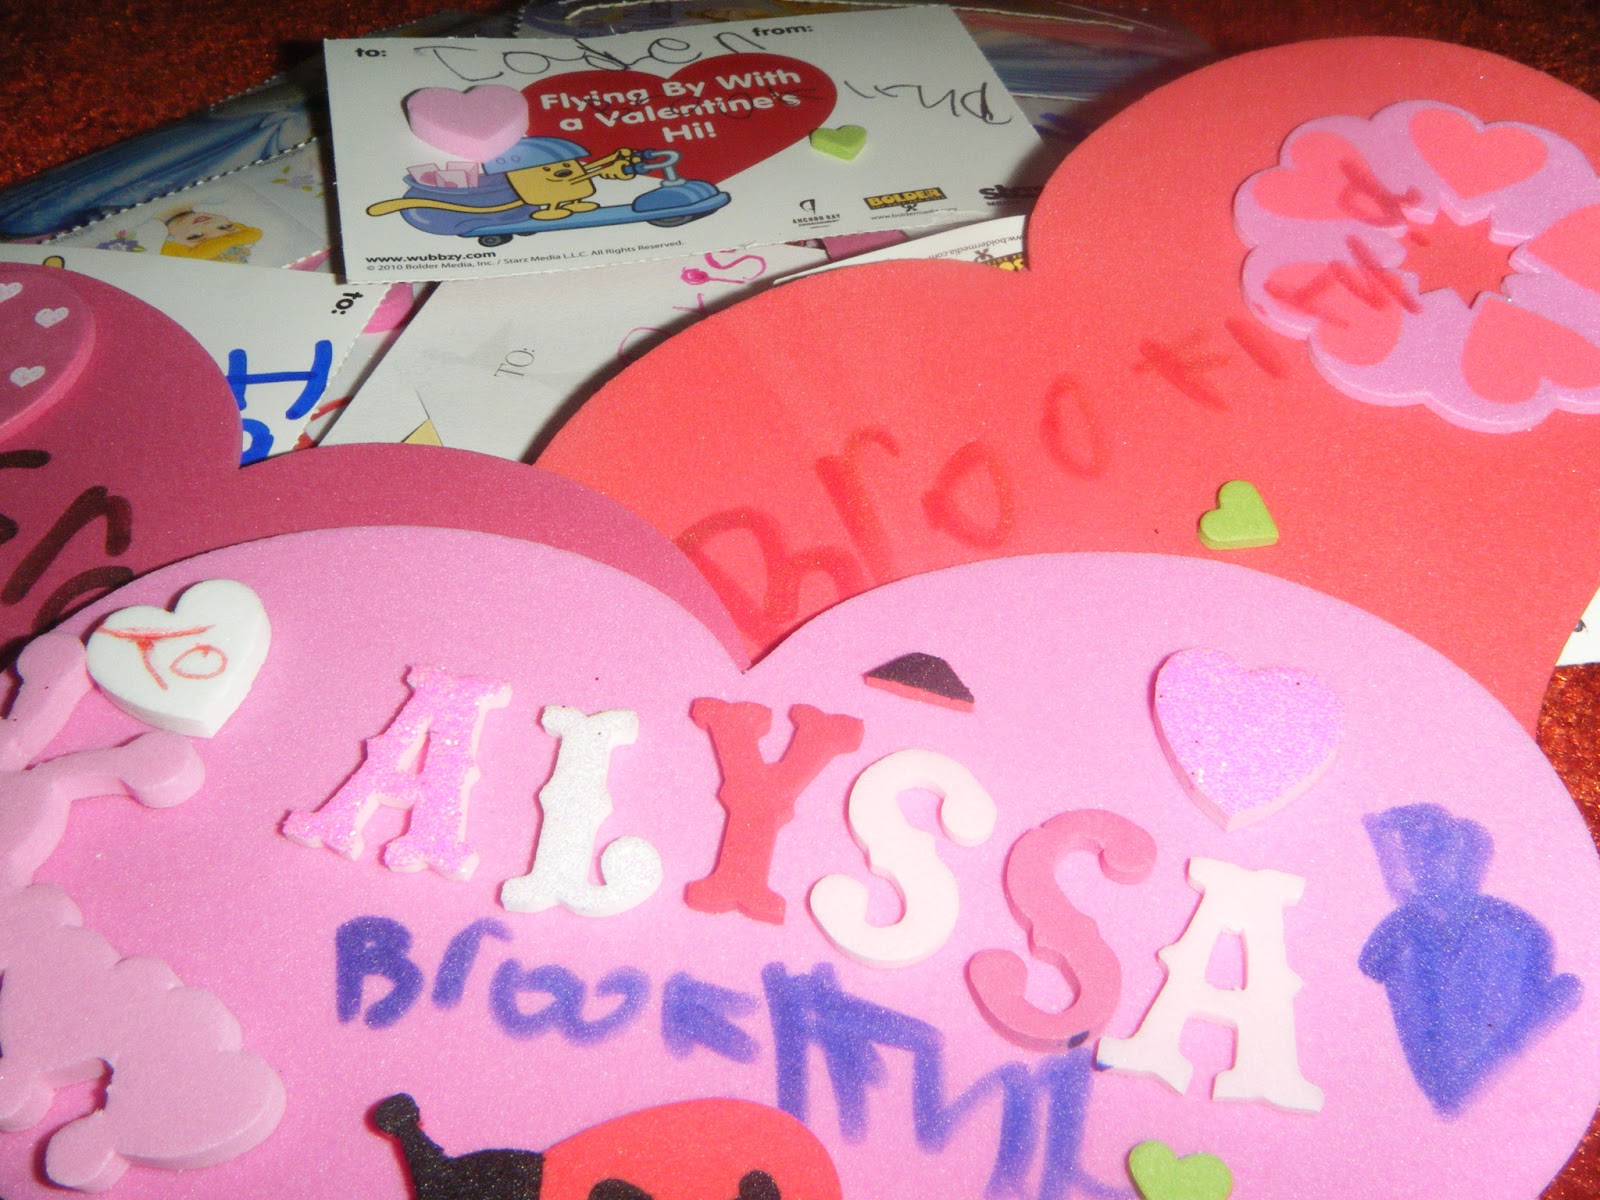
Valentine's Day is just over a month away... 34 days to be exact. Some stores are already putting out the pretty little Valentines cards with cartoon designs and brightly printed hearts! I realize that some of the store bought Valentines can be cheap and cute but when it really comes down to it, kids always seem to want the box of Valentines that cost the most and depending on how many kids are in your child's classroom... you may have to buy more than one box. As a mom, I know that we could have lots more fun making our own Valentines at home!! Even Teacher Valentines can be made at home and come from the heart instead of from a box. Fun and Creative plus it's cheap!! IT'S A HOME RUN! 

Where do you put all those valentine's after you get done making them? In the Valentine Mailbox, of course! Alot of elementary teachers make mailboxes with their students around Valentine's Day so the kids can collect their Valentines but why not have a Mailbox at home to collect your Valentines aswell? You can truly use anything to make a cute Valentine's Mailbox with your kiddo's. Including milk jugs, boxes, buckets and more! I've found so many really neat ideas through out the web and I have a few that I came up with myself that will turn any normal Valentines day into a day of Fun, Love and with the right person... maybe a little Romance.


Throughout the next month I will be sharing all the valentine fun that I've found and came up with. I'm a mom on a budget so nothing will Over The Top on cost, but I promise it will be Over The Top in many more ways! From crafty Valentine Cards to yummy Valentine Treats! I'll be sharing ideas from lots of other wonderful blogs so you won't just be getting new ideas, you will also get the chance to check out the designs on other crafty moms around the world including some from Danielle's Place, Mom On Timeout! Make sure you check back and see what new valentines ideas I  have to share!


Need crafty idea's to do with your kids? This wonderful eBook: Fun Kids Crafts, is full of over 600 fun kids crafts for any occasion including lots of Unique Hpliday Crafts with Illustrations, Printable Templates & Step-by-step Instructions. Crafting with kids can bring a family closer and give you hours of fun and wonderful memories. Click here to step into the world of crafting with your kiddo's!!
I hope to talk to you all in future posts very soon! If you enjoyed this post please share with your friends through. I just made a Facebook Page for my blog, I'm calling it 'The Realm of Freebies, Deals & Fun'. It's very new but I am making sure that it's full of interesting and helpful posts! Click Here to make sure you never miss a Good Deal or a Good Tip!