Creative Commons License
This work is licensed under a Creative Commons Attribution 3.0 United States License.
Showing posts with label Blogs. Show all posts

Wednesday, May 22, 2013

The Blog Workshop - My #TBWC13 Recap


The best learning experience I've had so far this year!

Disclosure -- I received free admission to The Blog Workshop in return for the following review. Even though compensation was received (in form of free admission), my honest opinion is always my own and can never be altered or steered in any way.


This past weekend I was lucky enough to be able to attend The Blog Workshop Online Conference and I couldn't be happier!

This was my first blog conference and I wasn't really sure what to expect but I can say that The Blog Workshop rose WAY above my expectations. 
(You may remember my posts How The Online Blog Workshop Will Benefit You and The Speakers Of The Blog Workshop)

One of the best parts about attending an online conference was that I didn't have to find a babysitter for my daughters (even though I tried my hardest to find one anyways lol)! They were able to run around and play with their friends and even watch a bit of TV while I was learning!! And there was no way I was going to be able to afford to travel at tight now with the girls being in school and money needing to go toward bills! (Traveling with or without kids can get pretty pricey these days!)


Speaking of learning:


The Blog Workshop has given me sooo much to think about and put into action! The speakers were fabulous! Wonderful people from Blogads, NakedBloggers, Blog Frog/TapInfluence, IZEA, Blog Trends and soo many more! I've sat here and tried to pick a favorite part of the conference but I can't decided on one. I favorite the whole Conference. (did that make sense?)


I learned so much from The Blog Workshop that I don't even know where to start! I do know that I have a few things that need to be changed and I'll be making a To-Do List very soon!!


Some of the things mentioned were:


  • Branding
  • Finances
  • Affiliates
  • Networking
  • Media Kits
  • And much more!

Everyone was tweeting throughout the whole conference with the hashtag #TBWC13 and we ended up Trending all 3 nights!!! How awesome is that?!?


That stands for something, right?!?

A Great Example that shows AMAZING things can and will happen when you get a group of wonderful bloggers and vloggers together!

Take note Brands! We are no longer just simply bloggers... We are Influensers with a community of followers who love us!

Some of my favorite tweets were:


I couldn't be happier with my 1st conference experience! Da Vinci, the girl in control of The Blog Workshop (no joke, Da Vinci did not disappoint, she ran that conference like a champ!), is a super awesome lady! She runs the blog Your Life After 25 and I had no idea how laid back and fun she was! Along with all of the other speakers at the conference as well! Everyone was joking around, having fun, learning and teaching!

I was even able to learn a good bit from the chat box throughout the conference from all the other attendee's! It was wonderful! I made so many new connections and I can't wait to see what all these new blogger buddies and learning tools can do for my blog, my business and my future! I can't wait for 2014! If your thinking about attending a conference next year than I recommend looking into The Blog Workshop. A year sounds like a long time but everyone needs time for some planning don't they? Oh yeah, and I am almost 100% sure that next year the conference is going to be 10x better then this year... if that is even possible because #TBWC13 was AMAZING!!!!! 


Keep an eye out for ALOT of changes in the future because I'm following the yellow brick road to success!! 


One last tweet to Thank all the wonderful sponsors.....


Take a look at the collage that Da Vinci made up of some of the photo's we were tweeting of us hanging out with The Blog Workshop!!

I'M IN THE COLLAGE...... I'm wearing a green shirt... Can you find me?
:-)


Photo from TheBlogWorkshop.com


Friday, January 11, 2013

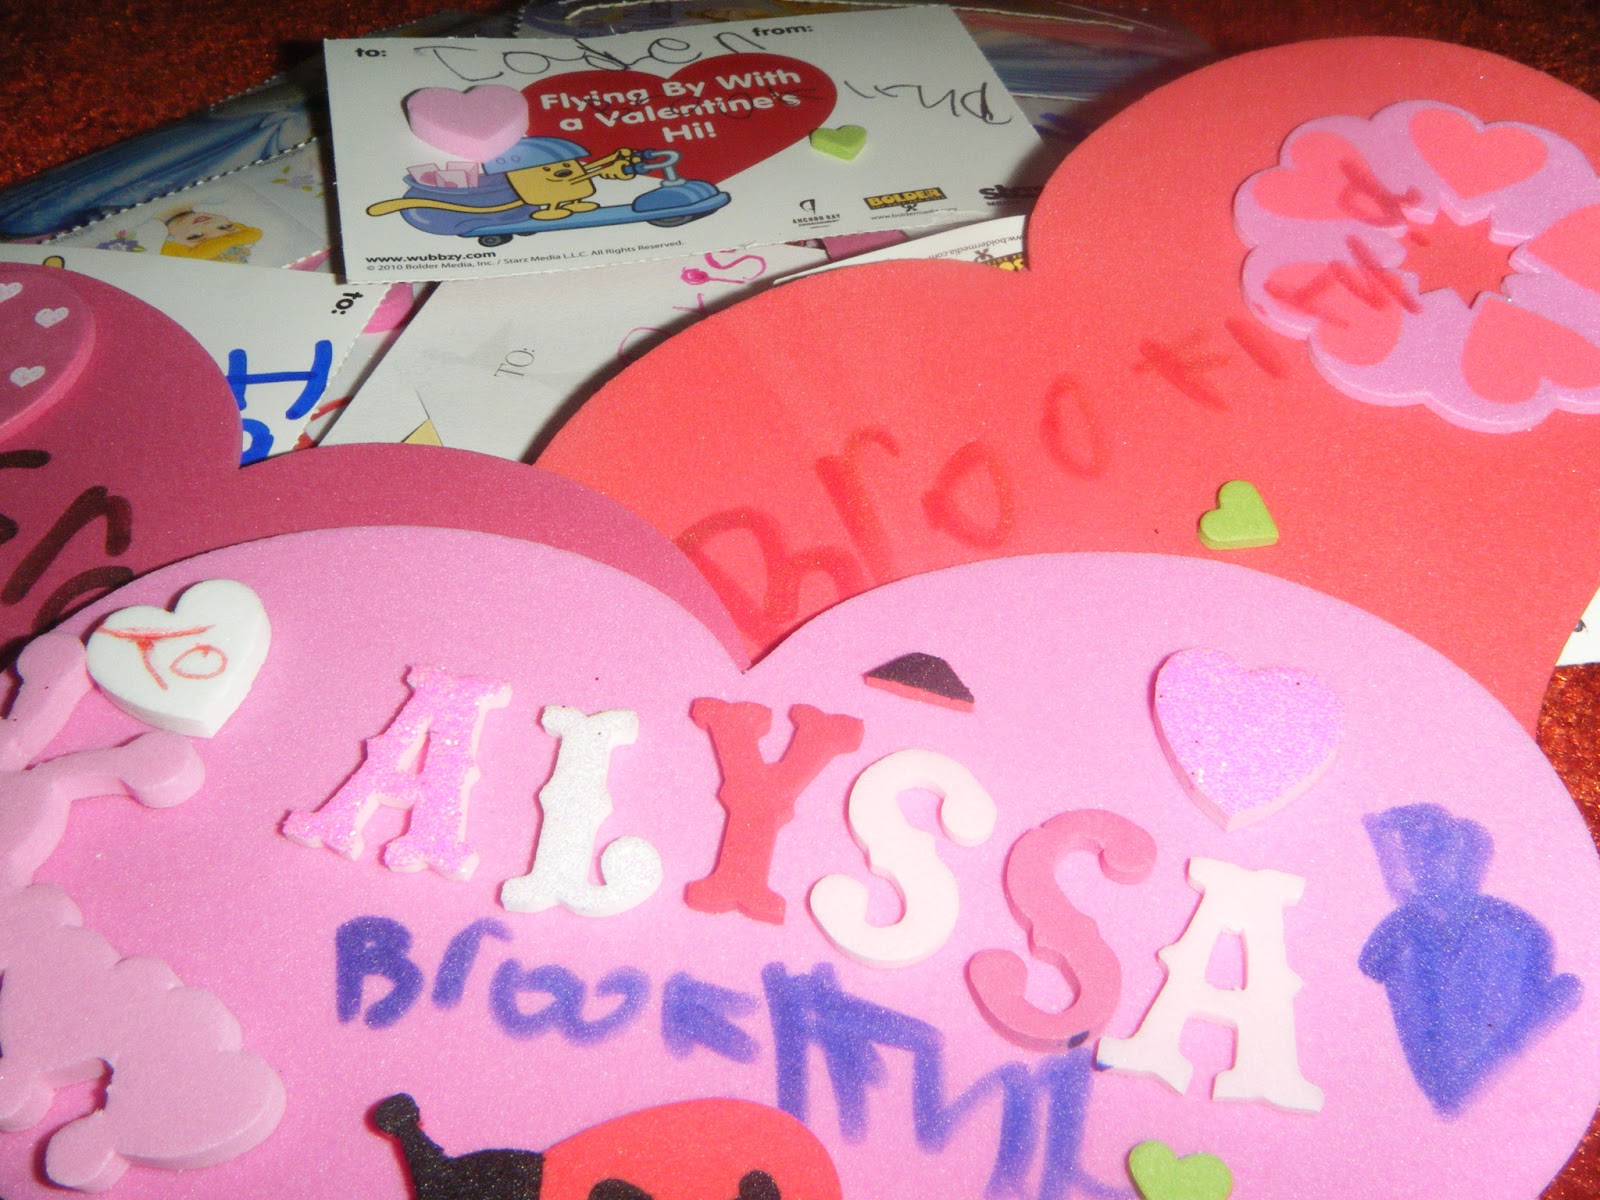
Getting ready for Valentine's Day!

 Do you have Love on the brain?

Valentine's Day is just over a month away... 34 days to be exact. Some stores are already putting out the pretty little Valentines cards with cartoon designs and brightly printed hearts! I realize that some of the store bought Valentines can be cheap and cute but when it really comes down to it, kids always seem to want the box of Valentines that cost the most and depending on how many kids are in your child's classroom... you may have to buy more than one box. As a mom, I know that we could have lots more fun making our own Valentines at home!! Even Teacher Valentines can be made at home and come from the heart instead of from a box. Fun and Creative plus it's cheap!! IT'S A HOME RUN! 

Where do you put all those valentine's after you get done making them? In the Valentine Mailbox, of course! Alot of elementary teachers make mailboxes with their students around Valentine's Day so the kids can collect their Valentines but why not have a Mailbox at home to collect your Valentines aswell? You can truly use anything to make a cute Valentine's Mailbox with your kiddo's. Including milk jugs, boxes, buckets and more! I've found so many really neat ideas through out the web and I have a few that I came up with myself that will turn any normal Valentines day into a day of Fun, Love and with the right person... maybe a little Romance.


Throughout the next month I will be sharing all the valentine fun that I've found and came up with. I'm a mom on a budget so nothing will Over The Top on cost, but I promise it will be Over The Top in many more ways! From crafty Valentine Cards to yummy Valentine Treats! I'll be sharing ideas from lots of other wonderful blogs so you won't just be getting new ideas, you will also get the chance to check out the designs on other crafty moms around the world including some from Danielle's Place, Mom On Timeout! Make sure you check back and see what new valentines ideas I  have to share!


Need crafty idea's to do with your kids? This wonderful eBook: Fun Kids Crafts, is full of over 600 fun kids crafts for any occasion including lots of Unique Hpliday Crafts with Illustrations, Printable Templates & Step-by-step Instructions. Crafting with kids can bring a family closer and give you hours of fun and wonderful memories. Click here to step into the world of crafting with your kiddo's!!
I hope to talk to you all in future posts very soon! If you enjoyed this post please share with your friends through. I just made a Facebook Page for my blog, I'm calling it 'The Realm of Freebies, Deals & Fun'. It's very new but I am making sure that it's full of interesting and helpful posts! Click Here to make sure you never miss a Good Deal or a Good Tip!

Friday, September 14, 2012

Have Yourself a Homemade Halloween!

Pumpkins are already starting to pop up in grocery stores and creepy Halloween skulls are right around the corner! Halloween is one of my favorite holidays but having a party for the kids can get so pricy! So this year I have decided to have a Homemade Halloween! It's a somewhat new challenge for me. I normally always make atleast one thing for Halloween but this year I'm planning on making almost EVERYTHING! Food, decorations, Games, etc!

While searching online for DIY Halloween ideas, I found this wonderful blog post called 10 Cheap DIY Halloween Decorating Ideas, it has some really cool ideas from indoor and outdoor Halloween stuff! My favorite idea from that post is the Backyard Grave yard! It's very simple and creepy!! :0)
Just get some big pieces of cardboard (or for a waterproof version you can use scrap wood for instead of Cardboard)
Cut in the shape of tombstones
Paint to look like aged concrete
Place in your yard with pumpkins, skulls, hay and whatever you would like to make your graveyard spooky!


I found 2 different sites with Specimen Jars and they are pretty much the same thing but a tab different. Find small plastic/rubber bugs, rats, doll heads etc. and place in a cleaned mason jar (You can also use old sauce jars or even baby-food jars)
Add water and a few drops of food coloring to make it look like lap specimens.
These little jars just might make it to my party!! Aren't they Spooky Creepy?! My daughters are going to love all this Halloween stuff! Sometimes scary stuff freaks them out because they are still young but I'm thinking that if I let them help me make the scary stuff then they won't be so afraid of it. It will be great family fun time and there is no telling what kind of stuff will pop out of my daughter's mouths while making scary Halloween Party props! (My girls can be really silly sometimes!) 
I also found 2 cute props that are pretty much just for show but I fell inlove! One is a Book Pumpkin! That looks kinda simple and kinda hard...


And some really cool Potion Ingredient Bottles at squidoo! My fiance's mom gave me an old spice rack a few months ago with lots of spice jars in it so this project will be perfect for them!


Now that I found a few decoration ideas, it's off to food prep!
 I'm not really wanting to serve up a full dinner and meal for the party-goers so a few spooky snacks should do the trick. Maybe even a creepy juice!
 While soaring through some blogs I found the perfect blog post that is full of Halloween Style finger-foods and party treats! It even has the sites that the ideas came from!! The blog is called Cute Food For Kids?, the post is named "41 Cutest Halloween Food Ideas". The Spider Lollipop from Party Frosting blog is adorable and would be great for classrooms and I may make a few to pass out to the kiddo's at the party. Just pipe-cleaners, googlie eyes and a Blow Pop!


 I even like the idea of the spider lanterns, also from Party Frosting even though they ain't food :0)
I found some Marshmallow Zombies that are awesome!!! 

How cute and creepy are they?!?! I'm pretty sure that they are just jumbo white marshmallows with the smaller colored marshmallows and use some editable markers to draw the faces! SIMPLE AS PIE! (even though pie is NOT always so simple!) 

I found this next idea on Pintrest (Such a wonderful site!) It's a Creepy Cool floating hand Ice Cube!! Make some Red Kool-Aid or other red punch (red for blood) Turn a rubber glove inside-out (so you don't get the powder from the inside of gloves in your ice cube) Fill up with water and Freeze! Don't put it into your punch until your ready to serve because the fingers will melt faster than the palm due to them being smaller so you will slowly have a fingerless hand floating around in your punch!! :0)

Look how cute!!!!!!

Mummy Juice Boxes from Parents
From the looks of the picture, you can use the Waterproof Adhesive Tape and wrap up the whole juice box. Add the googlie eyes about half way through and over-lap a piece like a mummy :0) I LOVE IT!! (Once I read the directions it says that they used white electrical tape. I like the Adhesive Tape idea better, it's water-proof and will stay on longer.... atleast I think it would, but what would I know? I haven't tried it...yet!)

I think my daughters would enjoy making a Halloween paper Village for a center piece! I can always find scrap paper and small boxes! All I need to buy is paint.

I found this idea at claudinehellmuth.blogspot.com also!

And the Nutter Butter ghost from The Hob- bee Hive are adorable! Just add some iceing and a stick to some Nutter Butter cookies and your good to go!! WOW! All this Halloween searching is making me ober excited! I'll update with all the new things I find and the crazy ideas that fall out of my head!


If you have any ideas on how to make my Homemade Halloween please feel free to let me know in the comments! I'm hopping that this Halloween is the best one yet!
Here are a few of the sites that I found the above ideas at:


Written on September 14, 2012 by a crazy stay at home mom of 2 beautiful little girls. With 2 step sons that come over every-now-and-then, and a pretty decent fiance! Very crafty and don't like to leave the house without a camera!

Friday, August 17, 2012

DIY Bouncy Rock Balls


Make Your Own Bouncy Rock Balls

Photo Source - Having Fun at Home

To me, these balls look like the Bouncy Rock Balls you can buy for around $4 at stores but with a rainbow of colors instead of the gray color they normally come in and these are ALOT cheaper! Katey from Having Fun at Home posted this wonderful recipe on her blog on how to make your very own bouncy rock balls at home for very cheap!
I'm going to try this with my daughters very soon....... as soon as I get to the store to buy some Borax and school glue!!!

All you need is:

Borax (found in laundry section of the grocery store)
Elmer’s Glue (clear)
Food Coloring
Craft sticks

Directions:
  • Pour 1 tablespoon of School glue into a small container and add 2 or 3 drops of food coloring and mix together.
  • Add 1 teaspoon Borax and wait fifteen seconds.
  • Mix with a craft stick or something similar, until it’s too thick to stir anymore. 
  • Knead and roll the dough into a ball with your hands.  It'll be sticky at first, but will eventually turn rubbery and dry. 
Once this happens....... Bounce!

These balls won't be perfectly round but that's what makes it more fun! They look like colored rocks and bounce a bit crazy! 

It's best if you make sure that nothing breakable is close by and that your young child does NOT eat the balls.