Creative Commons License
This work is licensed under a Creative Commons Attribution 3.0 United States License.
Showing posts with label Quick. Show all posts

Sunday, April 28, 2013

Silly Face Game


SILLY FACES!!!!!!

Need to occupy your kids for a few minutes and don't have much time to plan a game or activity?

Make a quick Silly Faces Game and let your kids use their imagination to create all kinds of different silly faces!


  1. To make the Silly Face Game just simply draw a big oval on a sheet of paper. 
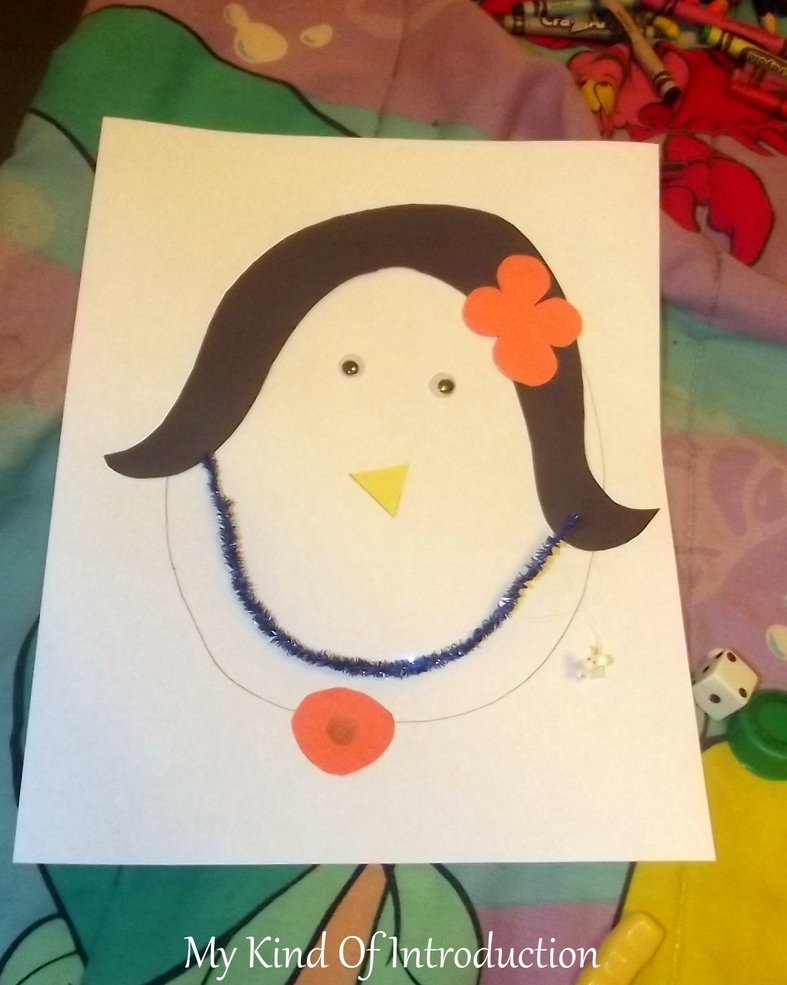
  2. You can use colored paper and make hair, eyes, flowers etc.
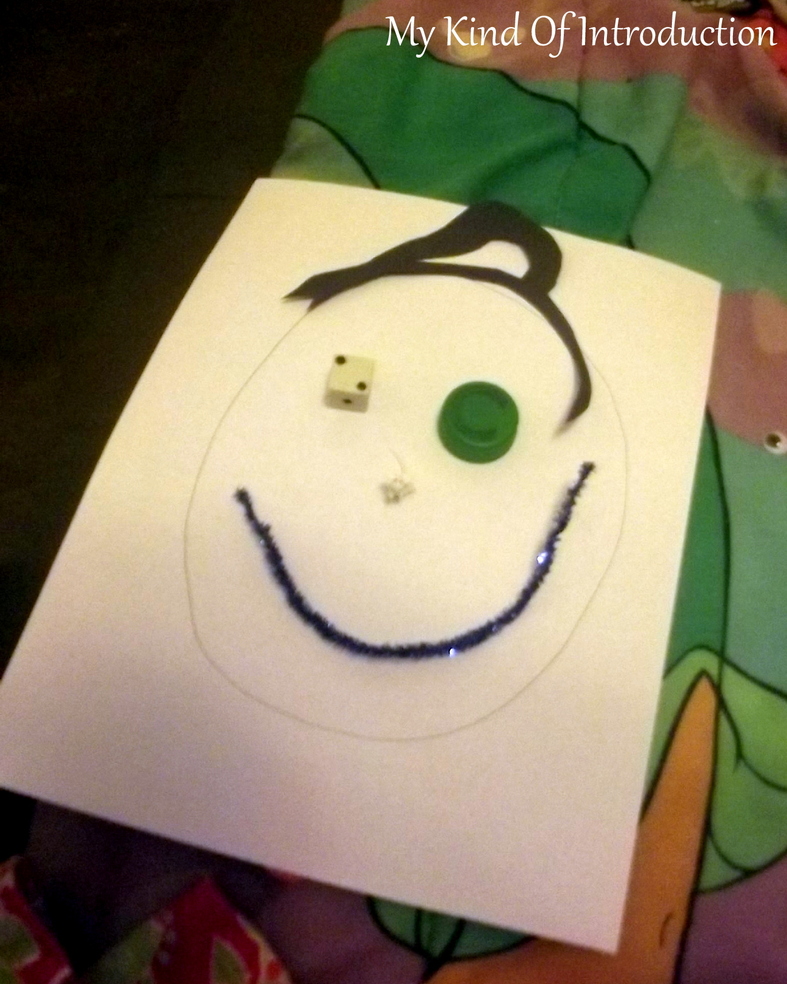
  3. Collect a few odds and ends from your craft bag and from around your house and give them all to your child.
  4. It's time to be creative! You'll be surprised at all the silly faces your kiddo's will come up with.
  5. Don't be afraid to let them explore your home for other small things to be used for their faces!

My daughters sat on their bed and played with their faces for a while! All I heard was giggles through the walls!


How many Silly Faces can your kids come up with??

Here are a couple of the faces my girls made:


Saturday, March 9, 2013

Quick Easy Dipping Sauce


Need a new dipping sauce for your nuggets and fries?


How about trying a mixture of Ranch Dressing a Ketchup.....
I know it may sound gross but it really isn't and is very cheep!
Almost everyone has Ranch Dressing and Ketchup in their fridge!
My daughters LOVE it!

Just put some ranch dressing in a small cup and add some ketchup. Mix well and serve!


You don't have to show your family whats in the dip, just make it and serve it to them! Than may sound sneaky but picky eaters won't eat things that look odd or nasty
I promise they will enjoy every last drop! 


My kids do every time and my youngest is VERY picky (She gets it from me!)

Sunday, February 3, 2013

Make Your Own Parachute Man

Get Hug’N Cuddle Bug Figurines from PreciousMoments.com!

Make your own Parachute Man or Girl


What you need is :

Plastic Baggie
Paper Clip
Small Toy Person (as light as possible)
String or Light weight Ribbon
Hole Punch (Optional)


Cut the baggie into a square and punch or poke hole in each corner.
Cut the string in 4 even strands and tie one end to each corner of the baggie square.
Tie the other ends of the strings to the paper clip and attach the paper clip to the small toy person by wrapping one end around the small toy.

Throw your little toy in the air and let it fly!

Our Princess was too heavy, make sure your toy is light. An Army Man works GREAT!


Precious Moments IncPrecious Moments Inc

Monday, January 28, 2013

Get a New Website Domain at GoDaddy

Featured Offer - 30% off new product orders at GoDaddy.com
Need a new Domain for you site? At GoDaddy, you will get great prices and all the help you need to set up your new site quick and easy. They have lots of promotions going on right now! Some are running to their end and some are just getting started! Click HERE or the banners to get started on your new Website Domain!


Sunday, January 27, 2013

Puzzle Piece Creature Magnets - Fun Craft for the Kids

STOP! Don't throw out all those old puzzles that are missing a few pieces, or the ones that your kids have grown out of due to the big size of the pieces. Why throw them out when you can make really cool creature magnets out of them! It don't matter what age your child is, this activity can be ALOT of fun! With the little ones, you may need to help with the glue and painting but the older kids can do it all on their own with just 3 small steps of instructions.


Step 1 ~ Paint a puzzle piece with any color of paint. (acrylic works best, watercolors don't like to stick to the glossy surface of the puzzle)


Step 2 ~ Once the paint dries, Decorate it with googlie eyes, pipe-cleaners, feather, pom-pom balls, etc.


Step 3 ~ Glue a Magnet to the back of the Puzzle piece

Your finished! Just let it dry and hang up your art work on your fridge!

*Fun Tip*
If you don't have any extra puzzle pieces, trace some onto a piece of thin cardboard and cut out the shape.
(I couldn't find my extra puzzles so we made our own!)


Saturday, January 12, 2013

Valentine Bling Rings with a Kiss of Chocolate

This post may contain affiliate links


**DIY Valentine Bling Rings**


While scanning the web looking for Valentine's Day ideas, I ran across this really cute ring on the blog Mom On Time Out that would be super simple to make for any age! The only supplies you'll need is pipe cleaners (red and silver were used but you can use any color you like) and Hershey's Milk Chocolate Kisses! If anyone else makes these cute little valentine rings, please post pictures, I would love to see how these come out. My Step By Step picture instructions are below.

Items Needed:
(per ring)
2 pipe cleaners
1 Hershey Kiss

Hershey Kiss Valentine Bling Ring

Twist the pipe cleaners in to an X

Hershey Kiss Valentine Bling Ring

Place the Kiss in the middle of the X

Hershey Kiss Valentine Bling Ring

Bend up the ends on the pipe cleaners around the kiss and twist them together.
 Split and bend the 4 ends in half with 2 on each side

Hershey Kiss Valentine Bling Ring
 
Make a circle ring shape with the ends.
You can either twist the ends around the ring shape or twist around the top right below the kiss.
(We twisted it around the ring)

Hershey Kiss Valentine Bling Ring

YOUR DONE!!!!!
My girls fell asleep before I could get a picture of them with the orange ring so I made their daddy be my hand model for the night! :-) He did so well for a first timer haha

Hershey Kiss Valentine Bling Ring  Hershey Kiss Valentine Bling Ring


I hope to talk to you all in future posts very soon! If you enjoyed this post please share with your friends through. I just made a Facebook Page for my blog, I'm calling it 'The Realm of Freebies, Deals & Fun'. It's kinda new but I'm making sure that it's full of interesting and helpful posts!
Click Here to make sure you never miss our new Crafts, Shopping Deal, Family Tips and so much more!


****************************************************
Disclaimer: This blog accepts compensation in the form of products and/or monetary for selected posts which will be labeled as sponsored. No matter the compensation, I only write about items and/or services that I have personal experience with and believe my readers will enjoy and/or benefit from. All opinions are my own and may differ from those of others.
View Full Disclosure for further details.
This post may contain affiliate links.
****************************************************