Creative Commons License
This work is licensed under a Creative Commons Attribution 3.0 United States License.
Showing posts with label cardboard. Show all posts

Monday, April 22, 2013

DIY Dollhouse Dolls


DIY Dollhouse Dolls


My daughter had a project for school where she had to make something useful or artistic out of recyclables. It was to be a Family Project, Jade and I chose a dollhouse. Little did I realize at that moment that if you make a doll house.... You have to make furniture also.... And Dolls....

Throughout this week, I'll be sharing with you how I made each item. Some were easy to make and some took a bit more thought. I hope you enjoy our doll house.

The Dolls were the last thing we made but I'll be sharing them with you first.


I started by drawing a little bald person on a piece of cardboard. I made the people with dresses because they were for my daughters and they had done decided that the beds in the doll house was theirs, so I needed to little girl dolls.


After I got the girls drawn, I cut them out.


I wasn't sure how I was doing to decorate the dolls when I first made them. I came up with a few different ideas like cutting faces out of a magazine along with a dress or making a dress out of fabric. And then it hit me....... USE A SCHOOL PICTURE!!!! What better way to make Jade and Loran then use a picture of their face for the dolls face!

I cut out their heads, trimmed the cardboard head to fit behind the photo face and glued it on.


Then I found some wire ribbon and cut the wire off the bottom of a medium size piece and started wrapping it around the bottom of the dress. I use hot glue to hold it in place.


For the top of one dress, I use 2 triangles and made a tank-top. I cut a different tank-top for the other dress so they would be a bit different. I used a glue stick to secure the tops on.

To make them stand up I use a scrap piece of cardboard and placed it between their feet. I had to fold one in half to make it thick enough for one of the girls.


Finished!!!

Kind of like Paper Dolls but stronger!

Easy and ADORABLE!!!!

Don't you agree??

You can also make boys dolls for those castles and towns. maybe dress them up as Knights or Cowboys and Indians!

If you come up with other ways to make little dolls, let me know!!! I'd love to see your ideas!


This blog may contain affiliate links. See full disclosure policy for details.


Monday, February 4, 2013

Making a Post Card from a Gummie Box

Valentines Day Greeting Cards from Treat


Home-Made Postcards!


I don't know about you but I love getting mail! Of course I don't love getting bills but regular mail like products I buy, samples and maybe even the letter or 2. Not many people use snail-mail anymore, it's all went to email and facebook messages. Even though online mail is more convenient, getting mail in your mail box is more fun. My little girls light up when they check the mail box and find something with their name on it. That's how I came up with the idea to send postcards to their friends and family. But who wants to go to the gas station and buy some of those lame local town postcards for your kids to send out? You can't find cool postcards anymore. Why not make your own? You can get creative and make any postcard you like! The easiest way to start making your very own postcards, is to grab an empty Gummie Fruit Snack box and cut it to size.

Crafty Tip ~ A Standard postcard measures between 3 1/2 x 5 inches and 4 1/2 inches x 6 inches. Anything sent postcard-style (no-envelope) that measures differently or is not rectangular needs first-class postage.

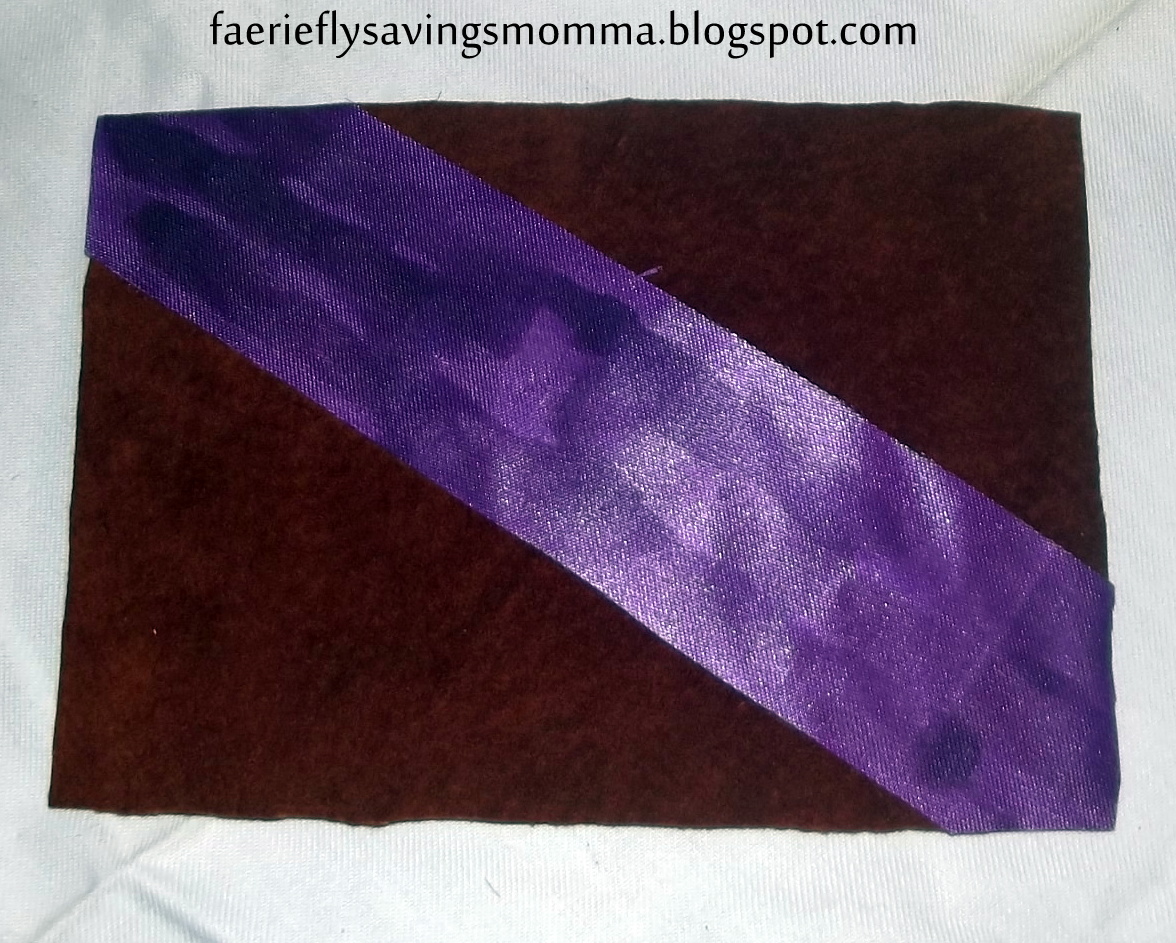
While my kids were playing outside today, I decided to make my own postcard. I went to my craft bag and found some soft brown fabric, that I had left over from a Halloween costume I made for my best friends son, and some purple ribbon. I wasn't sure how those 2 colors were going to work together but I was being open minded. It turned out to be very classy like!
I took pictures as I made the post card....

I started with a gummie box and cut out one side of it


 Then I measured out a 6 inch by 4 1/4 inch rectangle


 I cut out the postcard and traced it to the back of my fabric


After I traced and cut out my fabric, I glued the fabric to my postcard and trimmed off the raw edges


Time to move on to the Ribbon!


I cut a small piece out of the middle of my wide ribbon and decided to glue it across my postcard. (From one corner to the other) And cut off the edges


After the glue dried, it was time to flip over my postcard and add the stamp words and address lines.

I did a google search and found a nice template for the back of a postcard.

www.designedlykristi.com
My post card


You can use old T-shirts, stickers, googly eyes, lace, Or just for fun, If your cardboard piece has a cool design on it already then you can just add the words and lines to the back and mail it that way (I made one out of a baby formula label back when my girls were babies!)

If your going on a trip soon, this would be a fun project for you to do with your kids before supper! You can get some of the cheap postcards from the gas station along with a road map or odd food labels from the area your visiting. Just cut the map or food labels to the size of the post card and replace the store bought image with an awesome travel image of your own!! What a wonderful way to tell your family and friends about all the fun your having on your trip!


Stuff4 Crafts

Get great prices on some of these wonderful products below! I have to get me one of these cupcake punchers!! I LOVE IT!!!! (Click on the photo's if you would like to know more about them) :0)


Clearsnap Double-Sided Adhesive Stickers 2"X7" Sheets 4/Pkg-Be Mine